avery
Wetware Developer
Background
We went for a capacity upgrade (51 -> 62Wh) when swapping out my friend’s old laptop battery. Dell bios does not like the non-dell battery; the idea is to graft the old battery’s management system (BMS) onto the new battery.
First Hurdle
The casings are different; the old one has clips on the side for disassembly and the new one is pure adhesive. Solution: destroy the new case1 and use the old one to store the four-phone-batteries-in-a-trenchcoat rig.
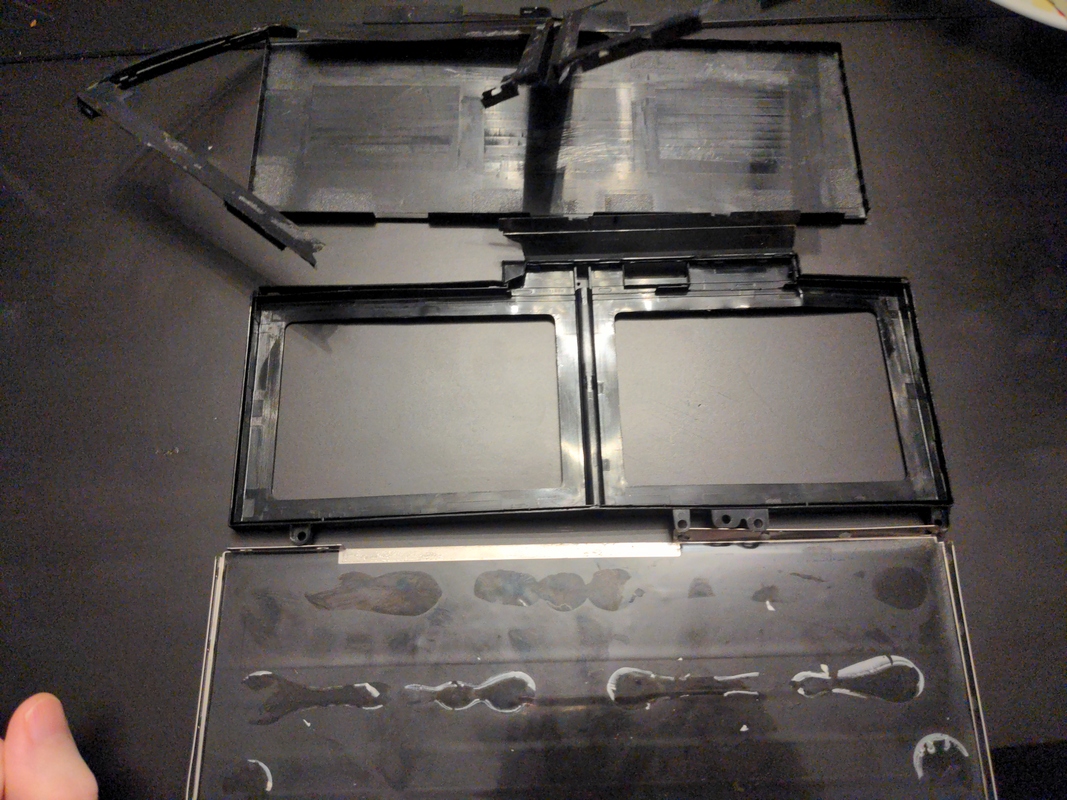
(new casing “teardown” vs old casing+backing)
Second Hurdle
New BMS contains an embedded plastic power rail connecting each of the batteries; old BMS connects to an isolated power rail.
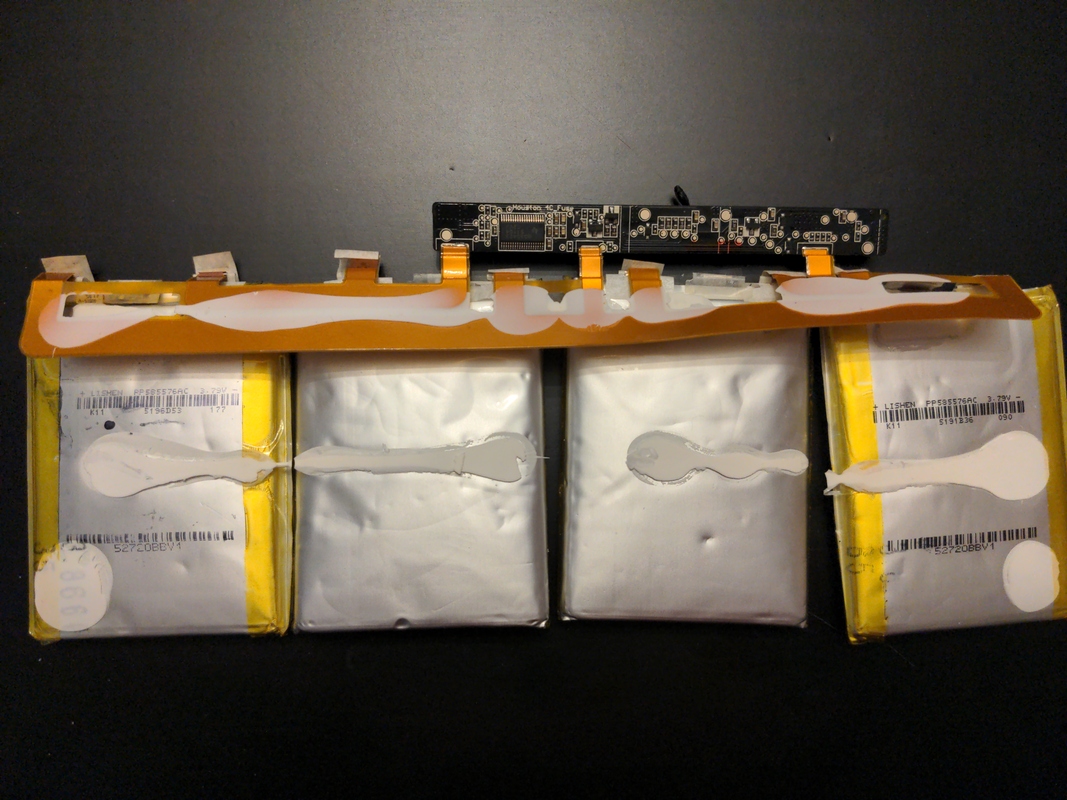
The old hydrogen-bloated batteries, the orange isolated power rail, and the minimal BMS chip. Note the inverted middle batteries. We were very concerned by the presence of a third battery terminal between the positive/negative terminals (it’s even marked positive):
Searching the part number on the chip yielded a Thermal Cutoff Device (linkrot) that we can “safely” ignore for the graft. I’m starting to sympathize with dell, but I’m in too deep now.
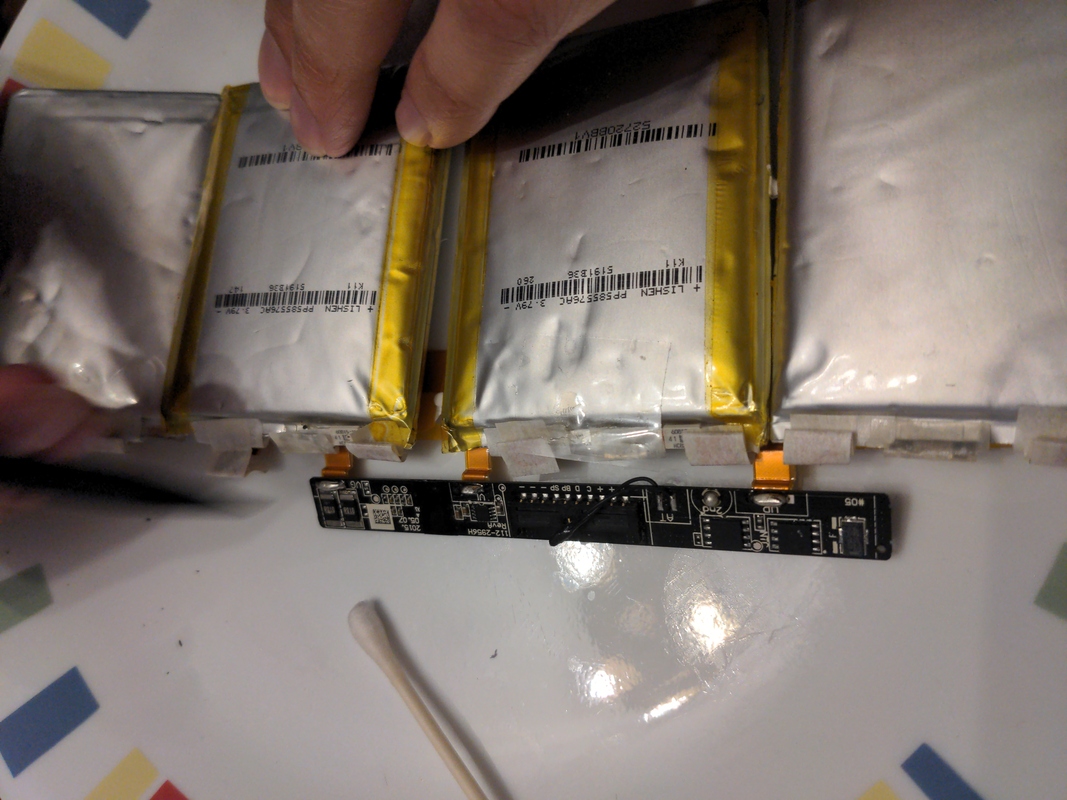
Solution: Spot welding, not soldering2.
We had to wait awhile for the spot welder to be available, but we began by welding these li-ions to the BMS. Unfortunately the batteries were completely drained, meaning we weren’t able to check the quality of the welds with a multimeter.
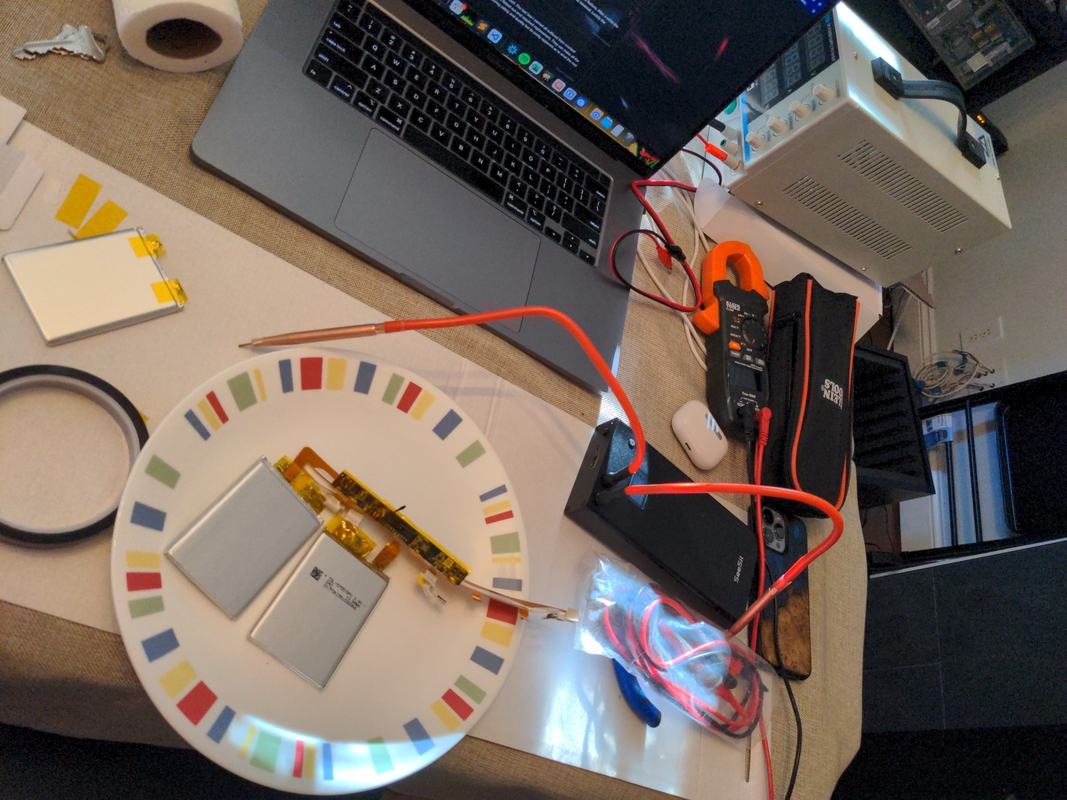
Solution: get a power supply and manually charge each terminal.
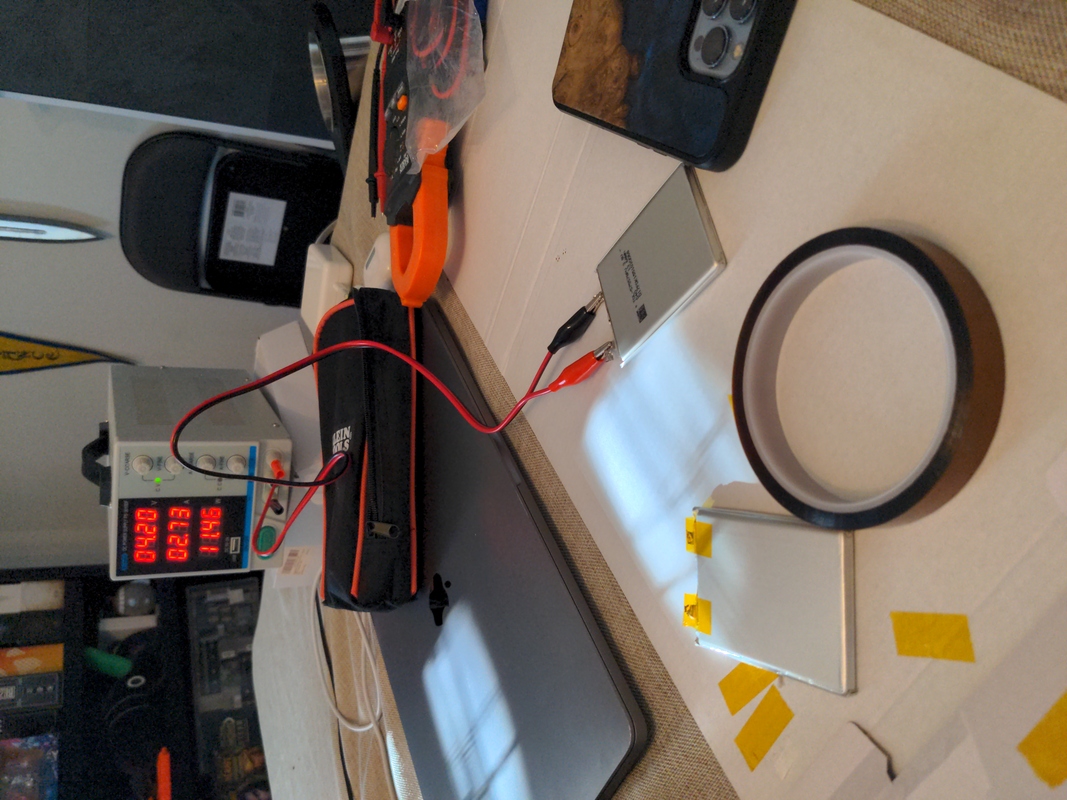
(Charging the batteries we hadn’t welded yet)
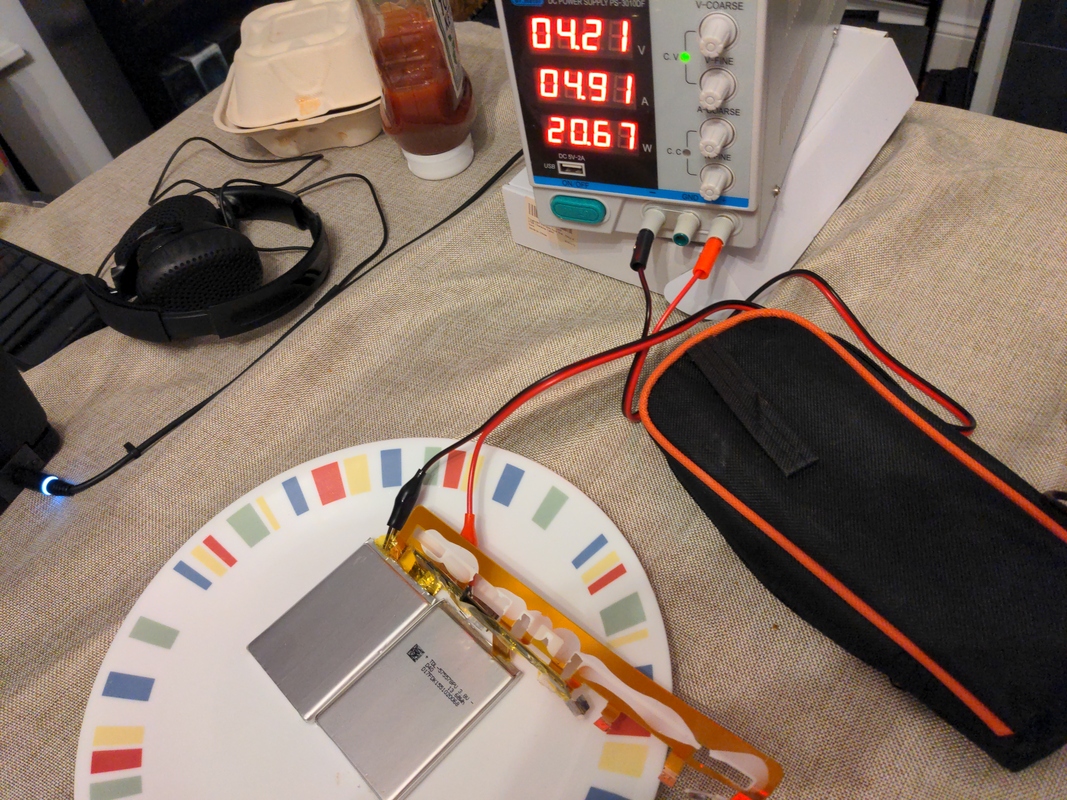
(Directly charging the other two in parallel via their new circuit)